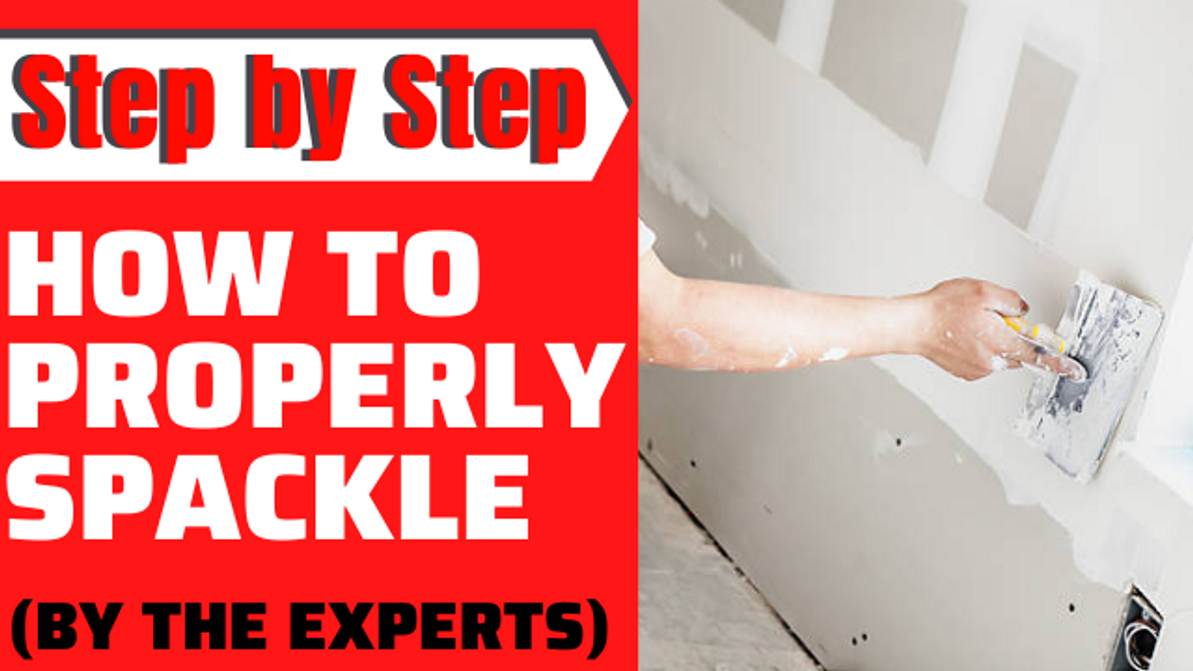
How To Properly Spackle – A Step-by-Step Guide
Have you ever looked at a wall and noticed a small hole or dent that just doesn’t seem to go away? That’s where spackle comes in handy. Also known as wall patching compound, spackle is a go-to solution for filling in imperfections on drywall before painting. If you're looking to fix those little blemishes around your home, this guide will walk you through the proper way to use spackle.
Spackle is an easy and effective tool for smoothing out walls, but it requires a bit of care to do it right. Here are the essentials you’ll need:
- Fine-grit sandpaper (150 grit works well)
- Spackling compound (also called wall putty)
- A putty knife
- A clean cloth
Step-by-Step Process:
- Prepare the Area: Start by cleaning the surface thoroughly. Sand the area around the hole or dent to ensure the spackle adheres properly. Wipe away any dust or debris with a damp cloth.
- Apply the Spackle: Use the putty knife to scoop up some spackle and spread it into the hole. For deeper holes, make sure to fill them from the inside out.
- Smooth It Out: Once the spackle is in place, use the putty knife to flatten it against the wall. Be careful not to let it build up above the wall surface—keep it level.
- Add Layers if Needed: Allow the first layer to dry completely before applying a second or third coat. This ensures a smooth finish without cracking or shrinking.
- Sand Gently: After the spackle has dried, lightly sand the area until it's flush with the surrounding wall. Avoid pressing too hard to prevent creating new indentations.
- Clean Up: Dampen a clean cloth and wipe down the area to remove any dust or residue. Your wall should now be smooth and ready for painting!
This method works best for holes up to 4 inches (about 10 cm) in size. If you’re dealing with larger holes, you might need to reinforce the area with mesh or wire before applying spackle.
Whether you're a DIY enthusiast or a homeowner looking to tackle small repairs, mastering how to spackle properly can save you time and money. If you have questions about the best products or techniques, feel free to reach out to experts like Edmonton Fasteners—they’re always happy to help!
Thanks for reading! We hope this guide makes your next repair project a breeze. Stay tuned for more tips and tricks on home improvement. See you in our next post!
